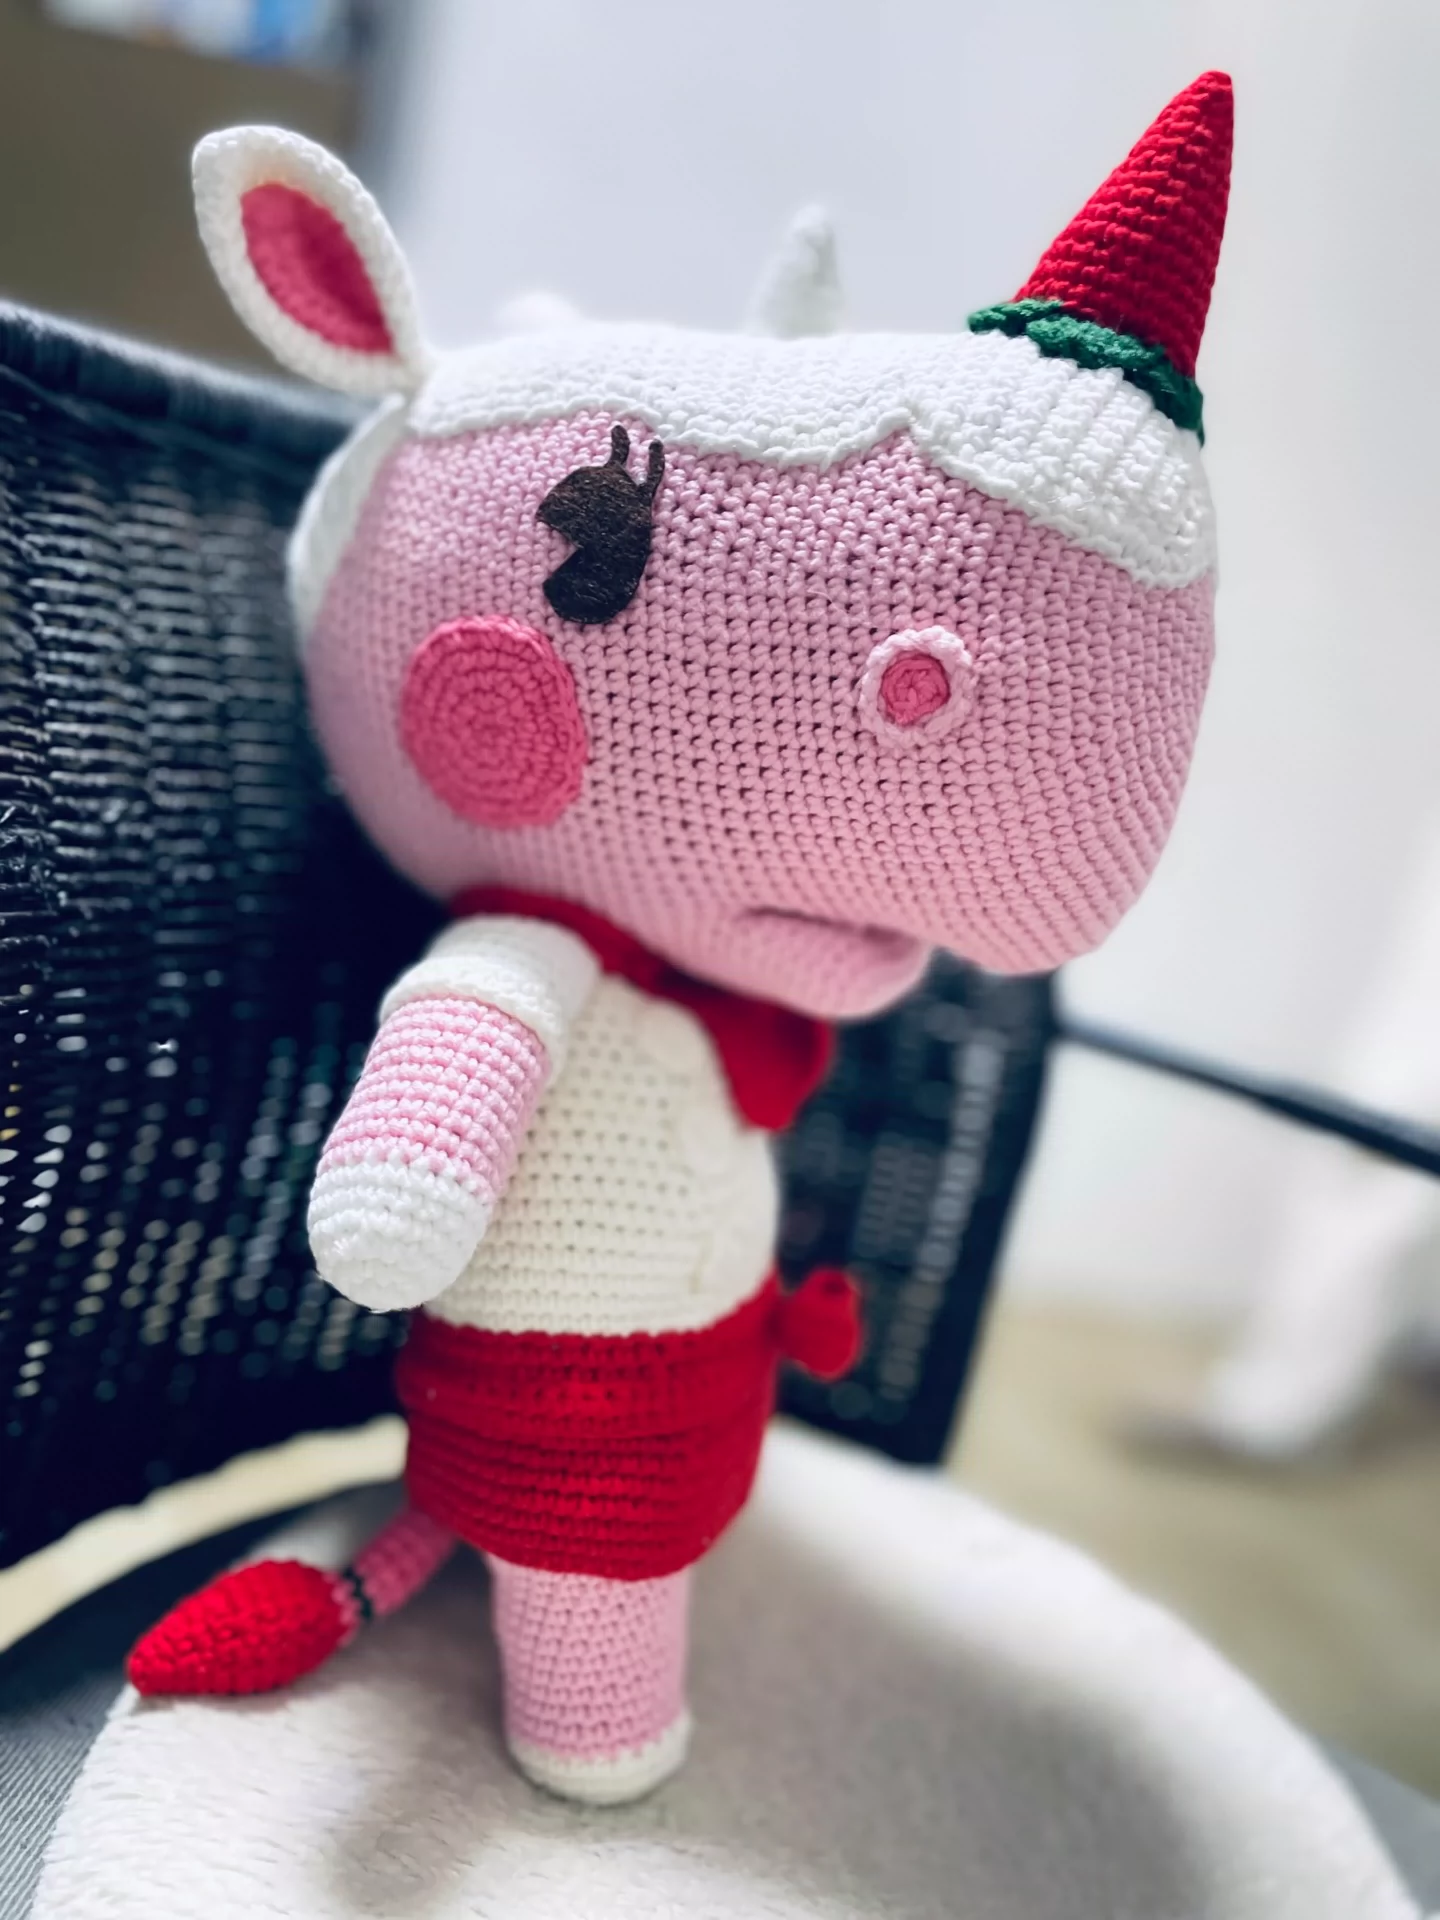
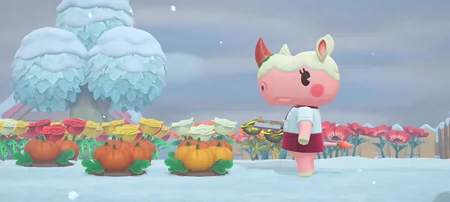
[Finished product] Animal Crossing Strawberry Rhino Amigurumi
$83.32
Description
how to crochet a Strawberry Rhino Amigurumi – crochet tutorial, guides and patterns
Crocheting a strawberry rhino amigurumi is a whimsical and delightful project! Below is a step-by-step guide to help you create your very own cute rhino.
Materials Needed:
- Yarn:
- Pink (for the rhino body)
- Green (for the leaves)
- White (for the details, such as eyes and spots)
- Crochet hook: 2.5mm – 3.0mm (depending on yarn thickness)
- Fiberfill: For stuffing
- Yarn needle: For sewing and weaving in ends
- Safety eyes (optional) or black yarn for embroidering eyes
- Stitch marker: To mark the beginning of each round
Crochet Abbreviations:
- ch: Chain
- sc: Single crochet
- inc: Increase (2 sc in one stitch)
- dec: Decrease (sc two stitches together)
- sl st: Slip stitch
- MR: Magic ring
Step-by-Step Instructions
1. Body (Pink Yarn)
- Round 1: Start with a magic ring, make 6 sc into the ring (6).
- Round 2: Inc in each stitch around (12).
- Round 3: 1 sc, inc around (18).
- Round 4: 2 sc, inc around (24).
- Rounds 5-9: Sc around (24) for 5 rounds to build the body length.
- Round 10: 2 sc, dec around (18).
- Rounds 11-12: Sc around (18) for 2 rounds.
- Round 13: 1 sc, dec around (12).
- Fasten off, leaving a long tail for sewing. Stuff the body lightly with fiberfill.
2. Head (Pink Yarn)
- Round 1: Start with a magic ring, make 6 sc into the ring (6).
- Round 2: Inc in each stitch around (12).
- Round 3: 1 sc, inc around (18).
- Rounds 4-5: Sc around (18) for 2 rounds.
- Round 6: 1 sc, dec around (12).
- Fasten off, leaving a long tail for sewing. Stuff the head lightly.
3. Horn (Pink Yarn)
- Round 1: Start with a magic ring, make 4 sc into the ring (4).
- Round 2: Inc in each stitch around (8).
- Round 3: 1 sc, inc around (12).
- Rounds 4-5: Sc around (12) for 2 rounds.
- Fasten off, leaving a long tail for sewing.
4. Ears (Pink Yarn)
- Make 2 ears.
- Row 1: Ch 4, starting from the 2nd ch from the hook, make 3 sc (3).
- Row 2: Ch 1, turn, inc in each stitch (6).
- Row 3: Ch 1, turn, 1 sc, inc (9).
- Fasten off, leaving a long tail for sewing.
5. Eyes (White Yarn)
- Round 1: Start with a magic ring, make 6 sc into the ring (6).
- Round 2: Inc in each stitch around (12).
- Fasten off and leave a long tail for sewing.
6. Leaves (Green Yarn)
- Make 2 leaves.
- Ch 6, starting from the 2nd ch from the hook, make 1 sc, 1 hdc, 1 dc, 1 hdc, 1 sc in the same chain.
- Fasten off, leaving a long tail for sewing.
Assembly
- Attach the head: Sew the head to the top of the body.
- Sew on the ears: Position and sew the ears on the sides of the head.
- Attach the horn: Sew the horn on top of the head.
- Sew on the eyes: Attach safety eyes or embroider them above the snout.
- Add the leaves: Sew the green leaves onto the top of the head around the horn.
Final Touches
- Embellishments: You can add spots or other decorations using different colors to give your rhino more personality.
- Shape and fluff: Adjust the stuffing as necessary to give the rhino a pleasing shape.
Your adorable pink strawberry rhino amigurumi is now complete! It’s perfect as a decorative piece or a unique gift for someone special! Enjoy your crocheting!
Related products
-


[Finished product] Crochet Giraffe Amigurumi, One Cute Giraffe
$27.49 Add to cart -

[Finished Product] Unicorn Crochet with Five-Strand Milk Cotton. Fully Handmade
$26.08 Add to cart -


[Finished product] Handmade Large Whale, Perfect Valentine’s Gift, Cuddly Toy, Gift for Girlfriend, Mohair Yarn
$46.66 Add to cart -

[Finished product] Mr. Sloth Crochet Doll Keychain
$35.39 Add to cart
