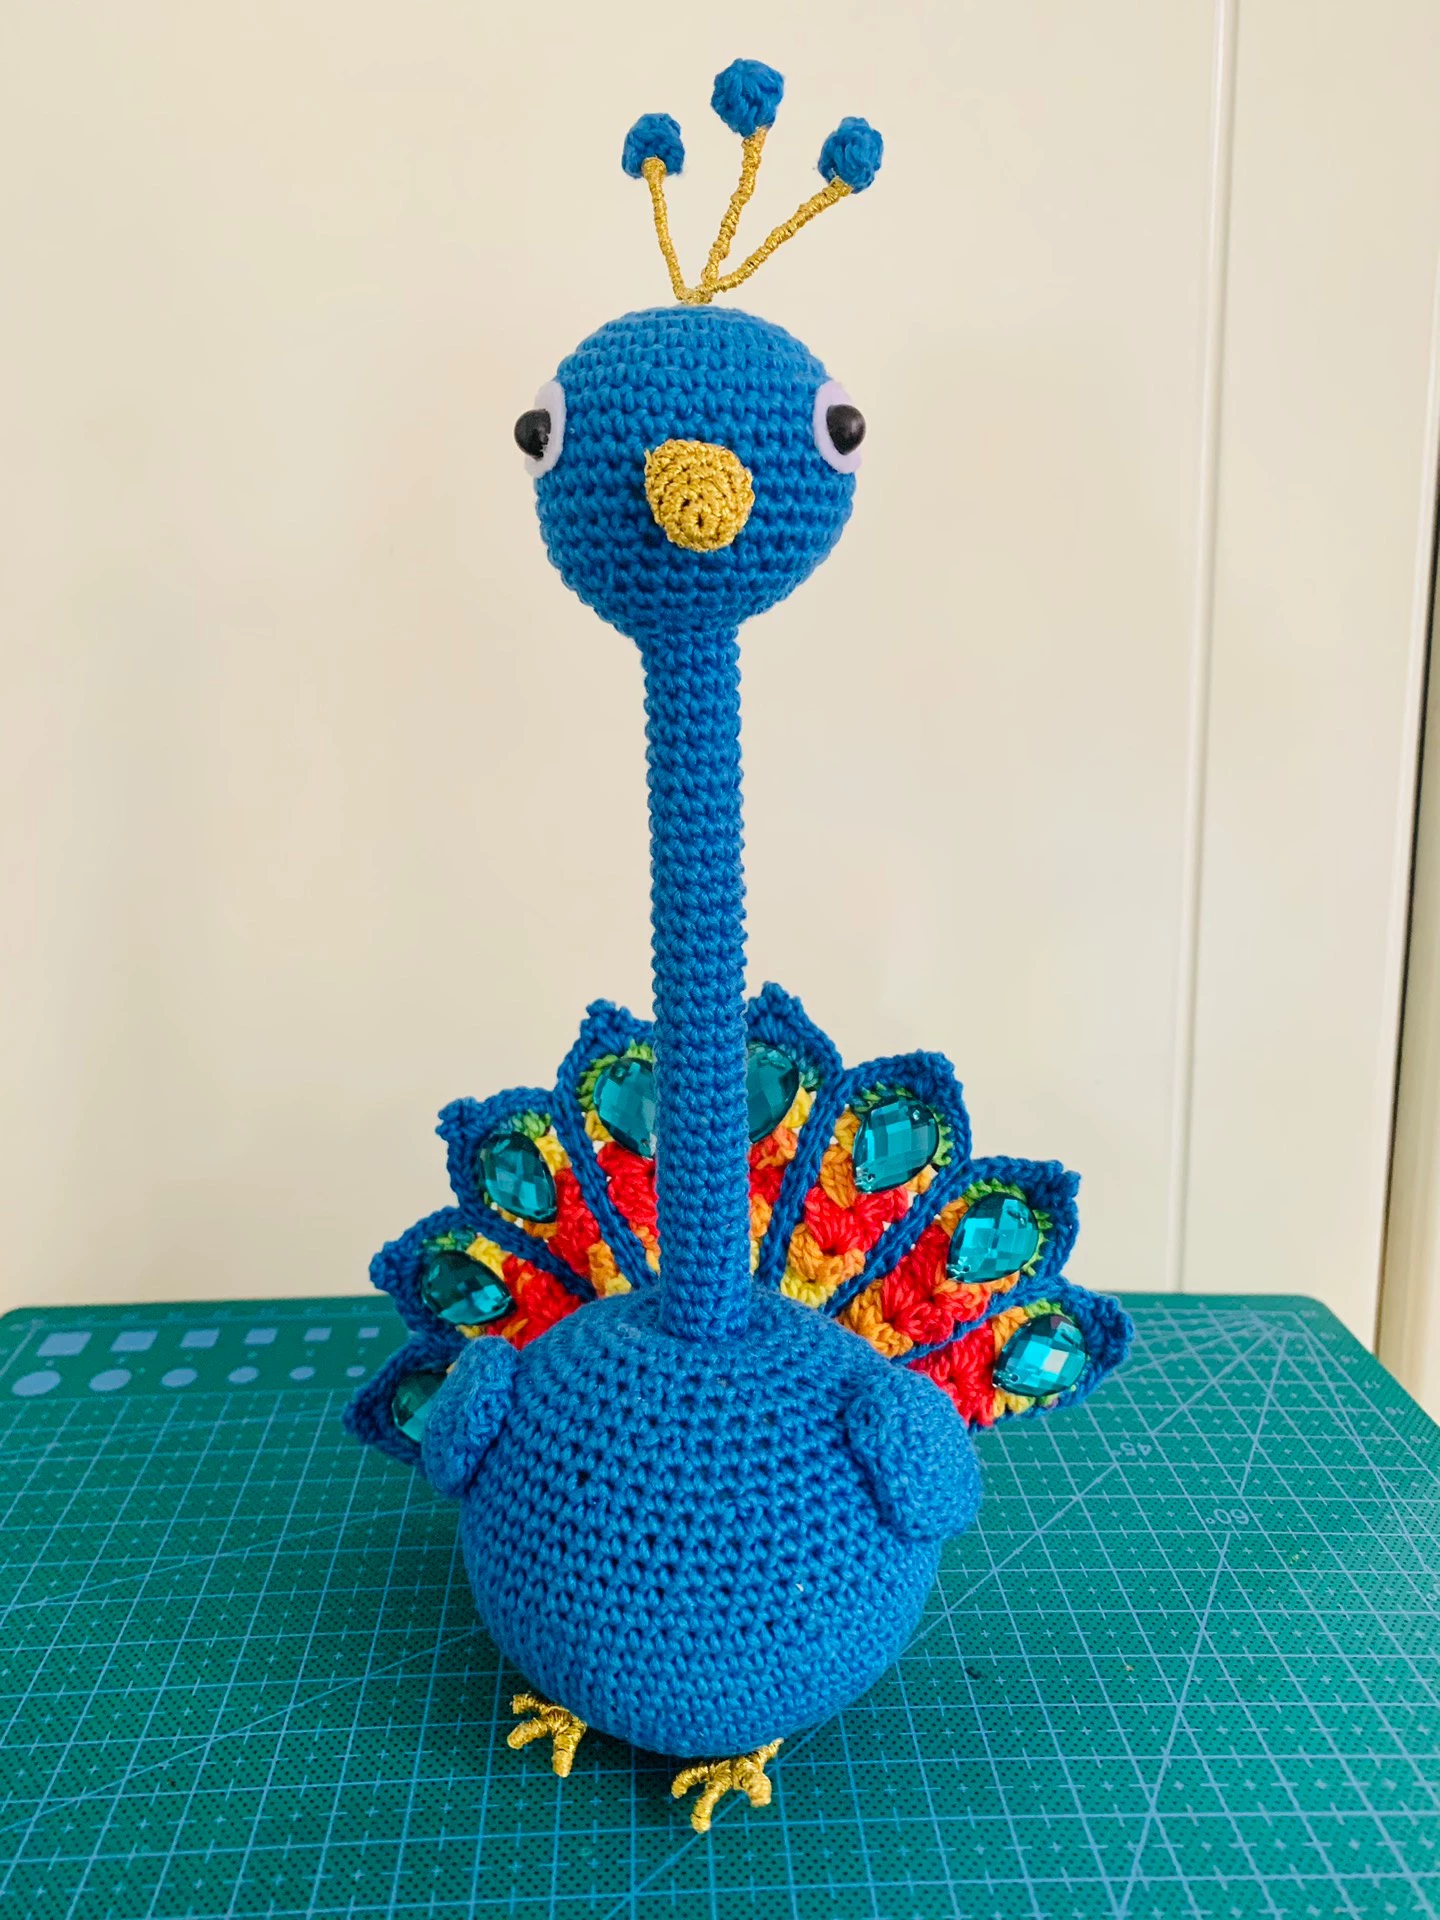
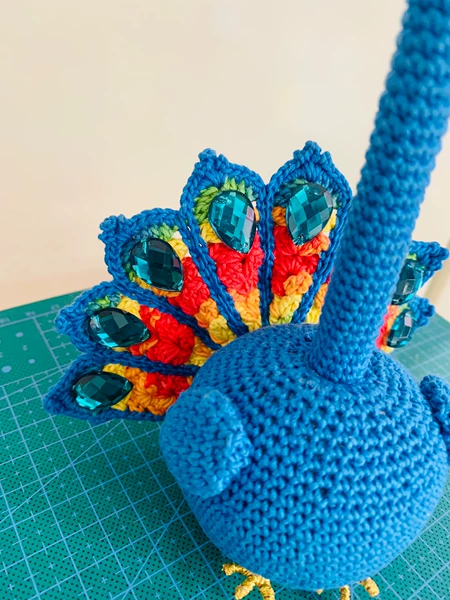
[Finished product] Adorable Peacock Pen Holder, Yarn Handmade Crochet Peacock Toy
$23.82
Description
how to crochet an Adorable Peacock Pen Holder – crochet tutorial, guides and patterns
Crocheting an adorable peacock pen holder is a creative way to beautify your workspace! Here’s a step-by-step guide to help you create this unique and functional project.
Materials Needed:
- Yarn:
- Blue (for the body)
- Green (for the tail feathers)
- Yellow or gold (for the beak and eyes)
- Black (optional, for additional detailing)
- Crochet hook: 3.5mm or appropriate size for your yarn
- Fiberfill: For stuffing
- Yarn needle: For sewing and weaving in ends
- Scissors: For cutting yarn
- Pen holder or small container: To hold the pen (like an empty toilet paper roll or small jar)
Crochet Abbreviations:
- ch: Chain
- sc: Single crochet
- inc: Increase (2 sc in one stitch)
- dec: Decrease (sc two stitches together)
- sl st: Slip stitch
- MR: Magic ring
Step-by-Step Instructions
1. Base (Pen Holder)
- Round 1: Start with a magic ring, make 6 sc into the ring (6).
- Round 2: Inc in each stitch around (12).
- Round 3: 1 sc, inc around (18).
- Round 4: 2 sc, inc around (24).
- Round 5-7: Sc around (24) for 3 rounds to create the height of the base.
- Fasten off and leave a long tail for sewing. You can also leave it open if you want to slide it over a container.
2. Body of the Peacock
- Round 1: With blue yarn, start with a magic ring, make 6 sc into the ring (6).
- Round 2: Inc in each stitch around (12).
- Round 3: 1 sc, inc around (18).
- Round 4: 2 sc, inc around (24).
- Round 5-8: Sc around (24) for 4 rounds.
- Round 9: 2 sc, dec around (18).
- Round 10: 1 sc, dec around (12).
- Round 11: Sc around (12).
- Fasten off and stuff lightly with fiberfill.
3. Head
- Round 1: With blue yarn, start with a magic ring, make 6 sc into the ring (6).
- Round 2: Inc in each stitch around (12).
- Round 3: 1 sc, inc around (18).
- Round 4: Sc around (18).
- Fasten off, leaving a long tail for sewing. Lightly stuff the head.
4. Beak
- Ch 4, turn.
- Row 1: Sc in each ch across (3).
- Fasten off, leaving a long tail for sewing.
5. Eyes (Make 2)
- With yellow or gold yarn:
- Ch 2, make 6 sc into the second ch from the hook (6).
- Fasten off and leave a long tail for sewing.
6. Tail Feathers (Make 3)
- Round 1: With green yarn, start with a magic ring, make 6 sc into the ring (6).
- Round 2: Inc in each stitch around (12).
- Round 3: 1 sc, inc around (18).
- Fasten off and leave a long tail for sewing.
Assembly
- Attach the body: Sew the body onto the top of the base securely.
- Attach the head: Sew the head onto the top of the body.
- Attach the beak: Sew the beak onto the front of the head.
- Attach the eyes: Sew the yellow eyes onto the head, positioned above the beak.
- Attach the tail feathers: Sew the tail feathers onto the back of the peacock. Arrange them in a fan shape for a beautiful display.
- Add details: If desired, you can add additional details to the body or tail feathers with black or other colored yarn.
Final Touches
- Shape the peacock: Adjust the position of the tail feathers and head to create a pleasing look.
- Personalize: Feel free to add any additional embellishments or details to make your peacock unique.
Your adorable blue peacock pen holder is now complete! It’s not only a cute decoration but also a functional item for your desk. Enjoy your crocheting!
ChatGPT can make mistakes. Check important info.
Related products
-

[Finished Product] Crochet Rabbit Amigurumi Handmade Birthday Gift
$19.88 Add to cart -


[Finished product] Handmade Crochet Cow Amigurumi
$21.29 Add to cart -


[Finished product] Crochet Amigurumi Flat Cat, Cow Cat, Tabby Cat Keychain, Gift Decor
$16.78 Add to cart -


[Finished product] Crochet Owl Doll Amigurumi
$32.81 Add to cart


