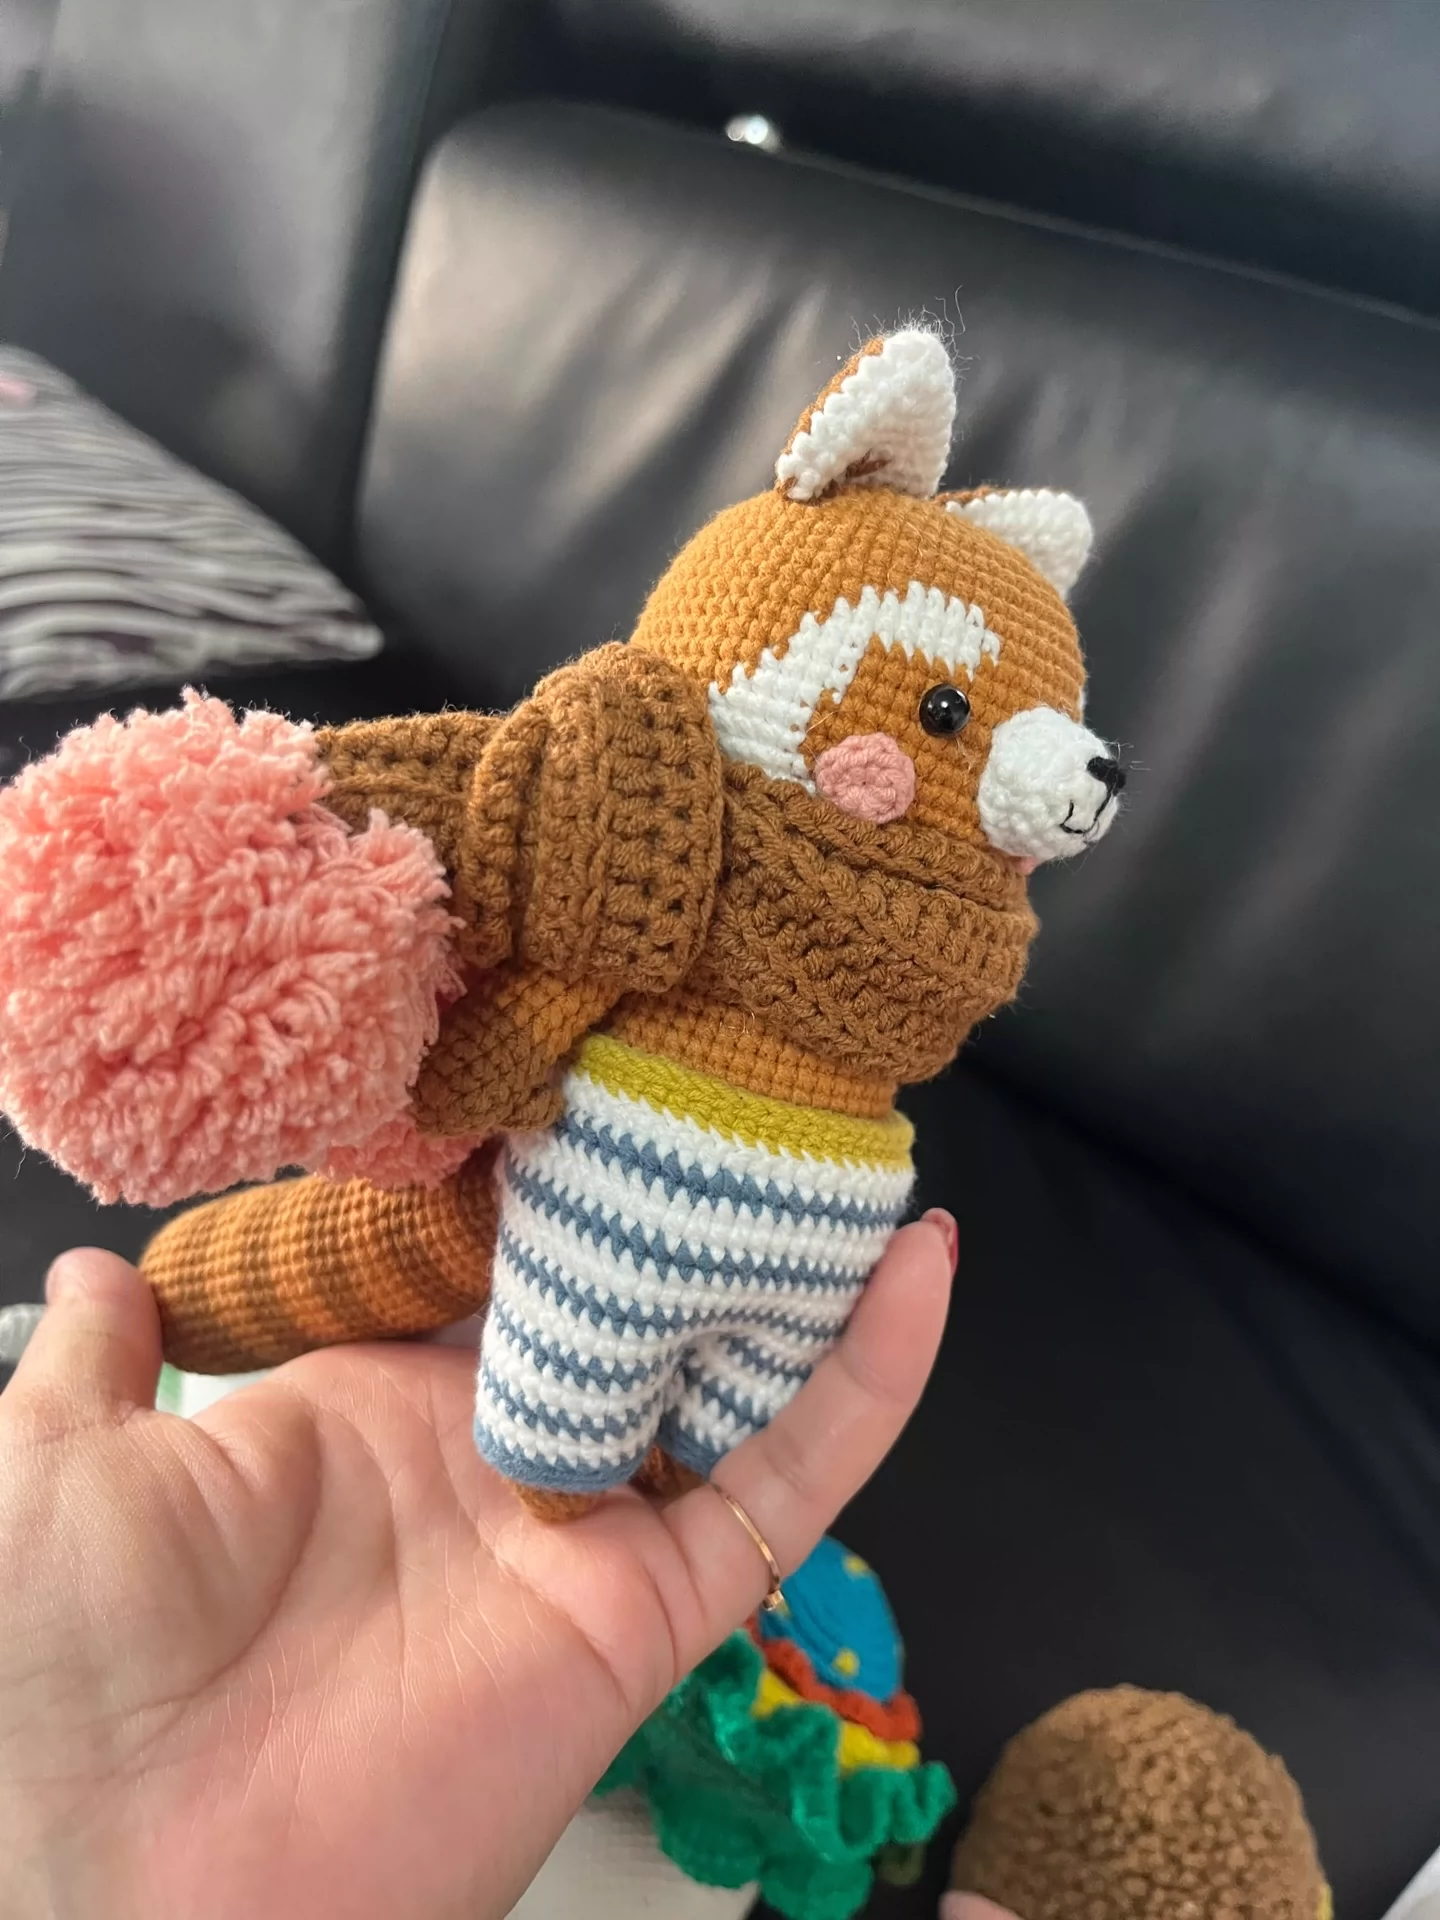
[Finished Product] Crochet Raccoon, Super Cute
$49.48
Description
how to Crochet a supper cute Raccoon – crochet tutorial, guides and patterns
Crocheting a super cute raccoon can be an adorable project. Here’s a simple guide to help you get started.
Materials Needed:
- Yarn:
- Grey (for the body)
- Black (for the mask, tail stripes, and ears)
- White (for the face and belly)
- Brown (for the scarf)
- Crochet hook: 3.5mm or size appropriate for your yarn
- Fiberfill: For stuffing
- Safety eyes: 8mm or black yarn for embroidery
- Yarn needle: For sewing and weaving in ends
- Stitch marker: To mark your rounds
Crochet Abbreviations:
- ch: Chain
- sc: Single crochet
- inc: Increase (2 sc in one stitch)
- dec: Decrease (sc two stitches together)
- sl st: Slip stitch
- MR: Magic ring
- FO: Fasten off
Instructions:
1. Raccoon Body and Head (Grey Yarn)
- Round 1: Make a magic ring with grey yarn, and 6 sc into the ring (6).
- Round 2: Inc in each stitch around (12).
- Round 3: 1 sc, inc around (18).
- Round 4: 2 sc, inc around (24).
- Round 5-10: Sc around (24).
- Round 11: 2 sc, dec around (18).
- Round 12: 1 sc, dec around (12).
- Round 13: Dec around (6). Stuff with fiberfill, FO, and close the gap.
2. Raccoon Snout (White Yarn)
- Round 1: Make a magic ring with white yarn, 6 sc into the ring (6).
- Round 2: Inc in each stitch around (12).
- Round 3-4: Sc around (12). FO and leave a long tail for sewing. Sew the snout to the center of the face, just below the eyes.
3. Raccoon Ears (Make 2) (Black Yarn)
- Round 1: Make a magic ring, 6 sc into the ring (6).
- Round 2: 1 sc, inc around (9).
- Round 3: Sc around (9). FO and leave a long tail for sewing. Attach the ears to the top sides of the head.
4. Raccoon Arms (Make 2) (Grey Yarn)
- Round 1: Make a magic ring, 6 sc into the ring (6).
- Round 2-6: Sc around (6). FO and leave a long tail for sewing. Attach the arms to the sides of the body.
5. Raccoon Legs (Make 2) (Grey Yarn)
- Round 1: Make a magic ring, 6 sc into the ring (6).
- Round 2-4: Sc around (6). FO and leave a long tail for sewing. Sew the legs to the bottom of the body.
6. Raccoon Tail (Grey and Black Yarn for Stripes)
- Round 1: Make a magic ring with grey yarn, 6 sc into the ring (6).
- Round 2: Inc in each stitch around (12).
- Round 3-7: Sc around (12), alternating between grey and black yarn every 2 rounds to create stripes.
- FO, stuff lightly, and sew to the back of the body.
7. Raccoon Mask (Black Yarn)
- Ch 16, sc in the second ch from the hook and across (15).
- Row 2: Ch 1, turn, sc across (15).
- Row 3: Ch 1, turn, sc 5, dec 3 times, sc 5 (12).
- Row 4: Ch 1, turn, sc 4, dec 2 times, sc 4 (10).
- FO and leave a tail for sewing. Attach the mask over the eyes, around the head.
8. Brown Scarf (Brown Yarn)
- Ch 50, sc in the second ch from the hook and across (49).
- FO and wrap the scarf around the raccoon’s neck, tying it in a loose knot.
Assembly:
- Sew the ears, arms, and legs securely to the body.
- Attach the snout to the face and place the mask over the eyes.
- Sew the tail onto the back of the body.
- Attach the scarf around the neck for a cute finishing touch.
Now, your super cute raccoon wearing a brown scarf is complete! Enjoy your adorable amigurumi creation!


