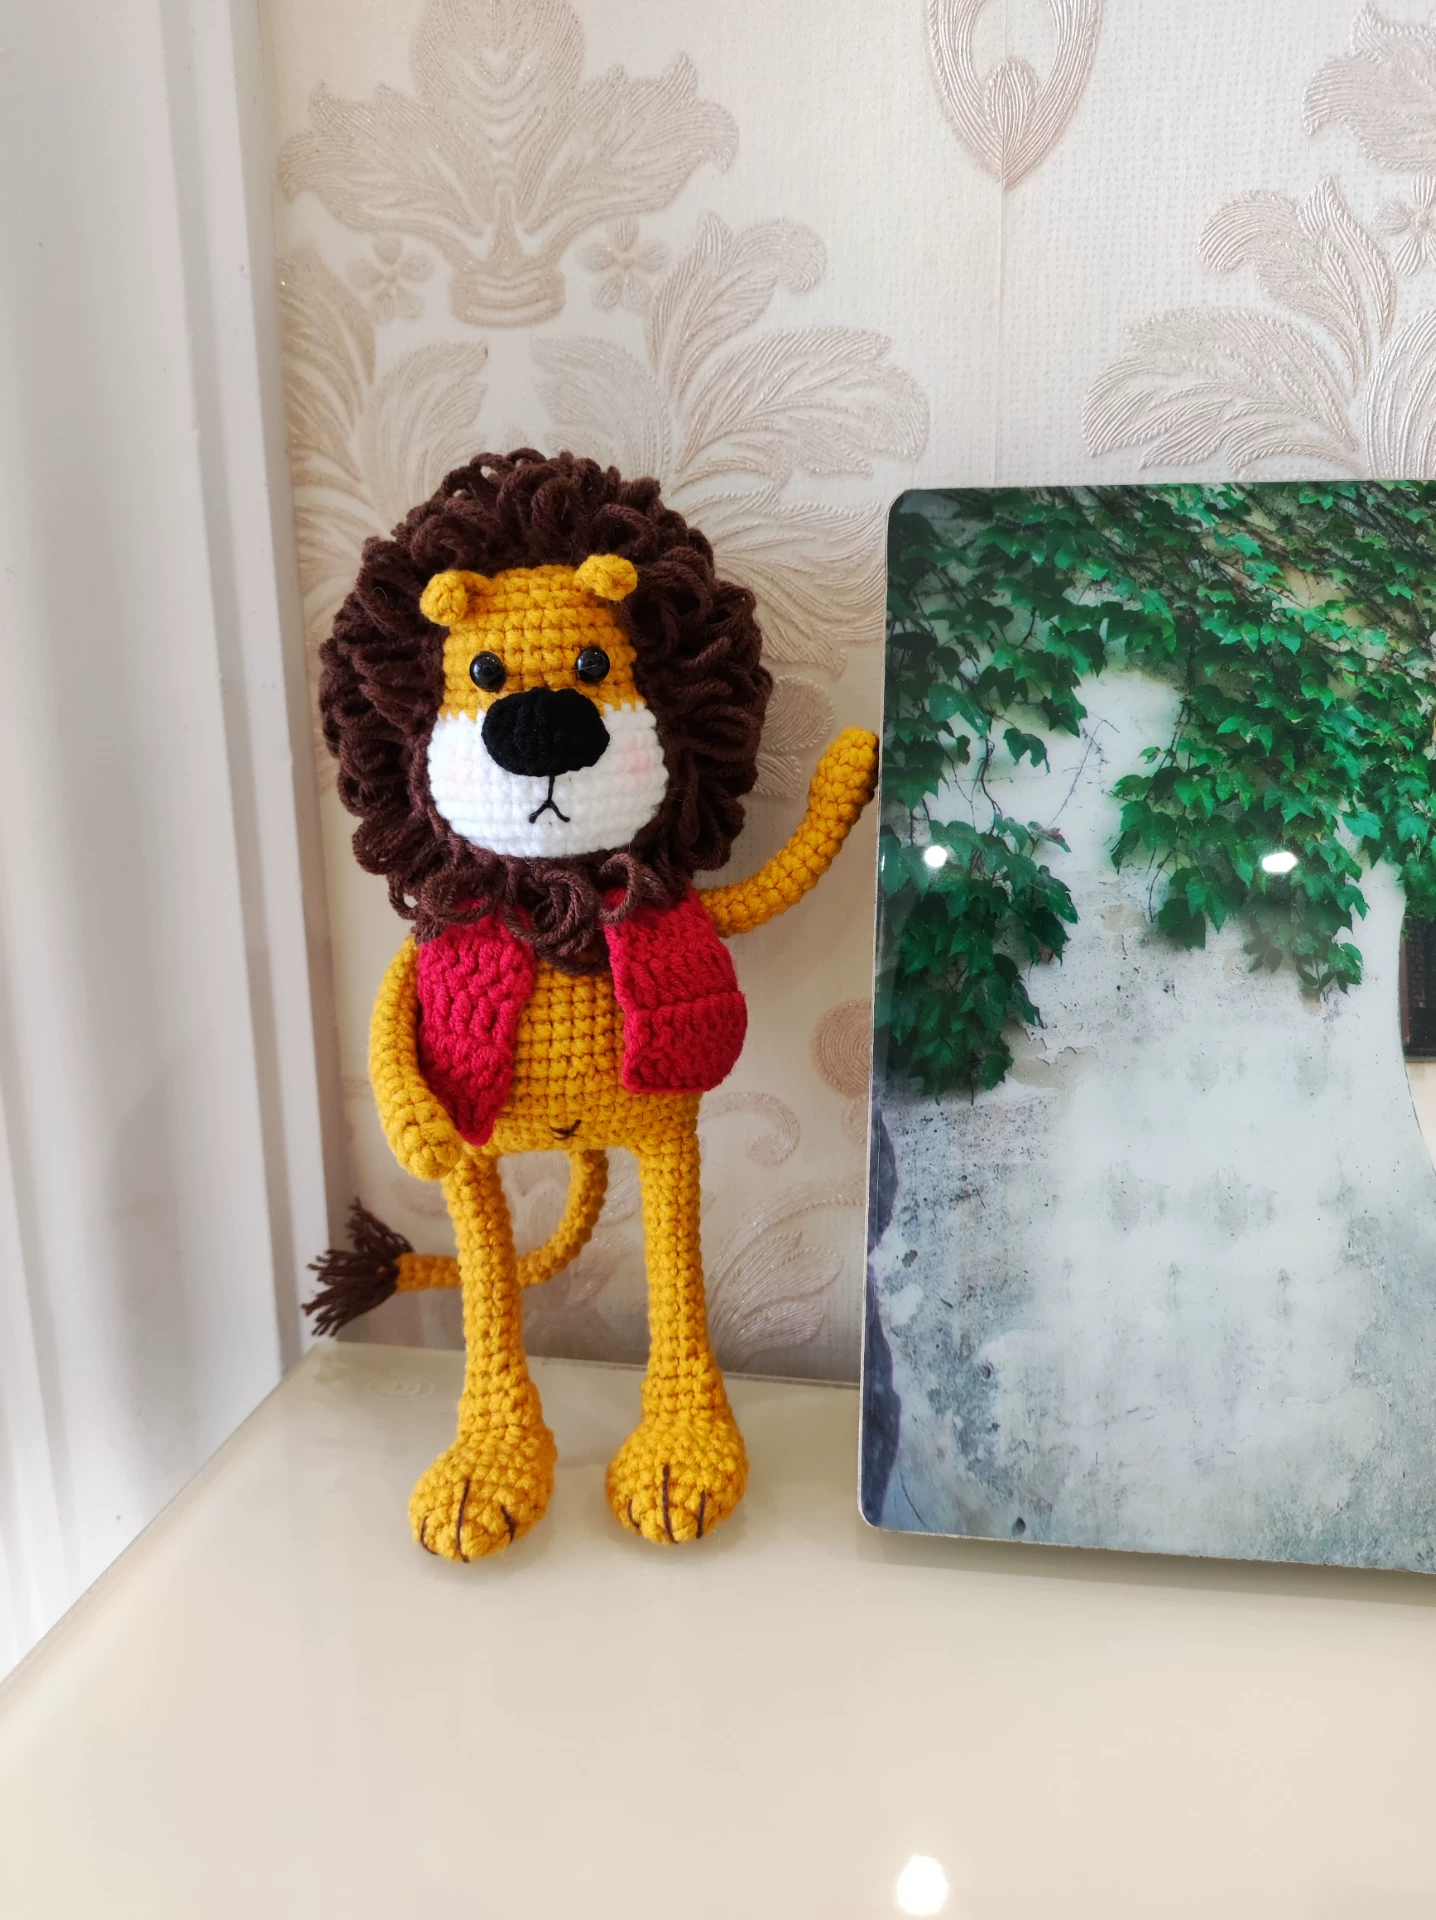
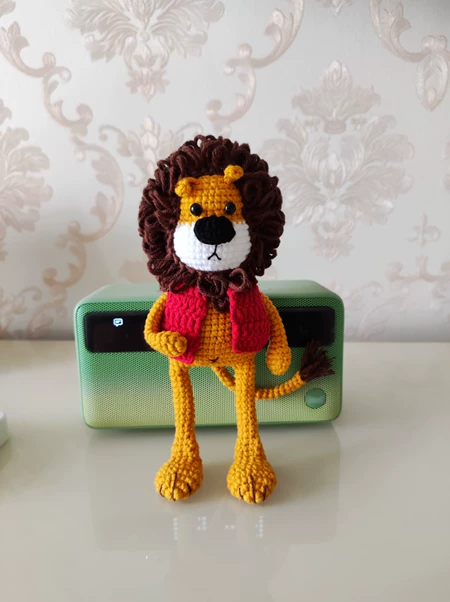
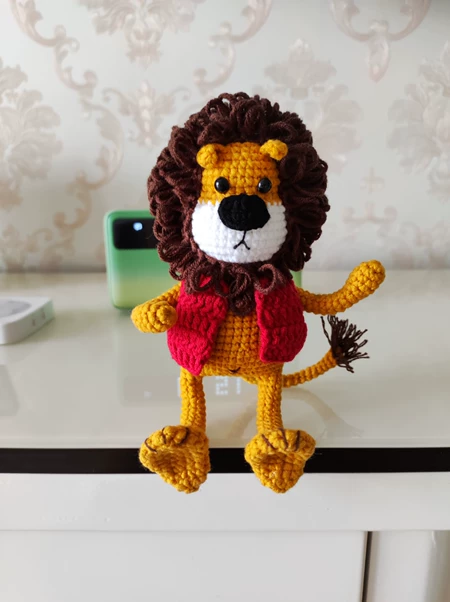
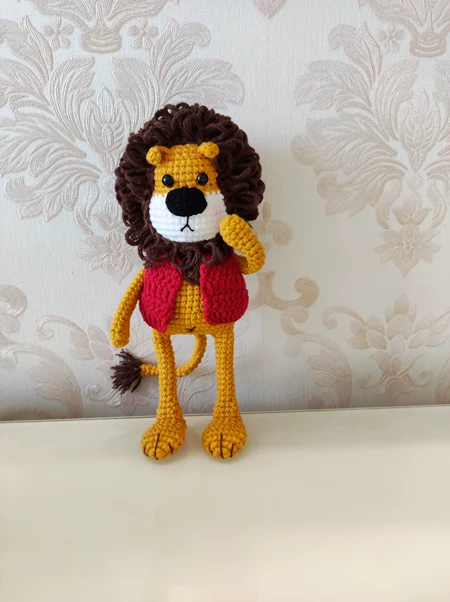
[Finished product] Crochet Unhappy Lion Amigurumi, Around 17 cm, With Poseable Arms, Legs, and Tail
$23.26
Description
how to Crochet a Lion Amigurumi – crochet guides, tutorial and patterns
Crocheting a lion amigurumi wearing a red shirt is a fun and creative project! Below is a step-by-step guide to help you create your own adorable lion. This pattern includes details for the lion’s body, face, mane, and red shirt.
Materials:
- Yarn:
- Yellow or gold (for the lion’s body)
- Brown (for the mane)
- Red (for the shirt)
- Cream or beige (for the face and inner ears)
- Black (for the eyes and nose)
- Crochet hook: 4.0mm – 5.0mm (depending on your yarn)
- Polyester fiberfill: For stuffing
- Safety eyes: 10mm – 12mm (or embroider eyes)
- Yarn needle
- Scissors
- Stitch markers (optional)
Crochet Stitches Used:
- ch: Chain
- sc: Single crochet
- inc: Increase (2 sc in the same stitch)
- dec: Decrease (single crochet 2 stitches together)
- sl st: Slip stitch
- MR: Magic ring
Crochet Pattern: Unhappy Lion Amigurumi
1. Head (Yellow Yarn)
- Round 1: Magic ring, 6 sc into the ring (6).
- Round 2: 2 sc in each stitch (12).
- Round 3: 1 sc, inc around (18).
- Round 4: 2 sc, inc around (24).
- Rounds 5-10: Sc around (24).
- Round 11: 2 sc, dec around (18).
- Round 12: 1 sc, dec around (12).
Start stuffing the head.
- Round 13: Dec around (6), fasten off, and leave a long tail for sewing.
2. Body (Yellow Yarn)
- Round 1: Magic ring, 6 sc into the ring (6).
- Round 2: 2 sc in each stitch (12).
- Round 3: 1 sc, inc around (18).
- Round 4: 2 sc, inc around (24).
- Rounds 5-12: Sc around (24).
Start stuffing the body.
- Round 13: 2 sc, dec around (18).
- Round 14: 1 sc, dec around (12).
Stuff firmly.
- Round 15: Dec around (6), fasten off, and leave a long tail for sewing.
3. Mane (Brown Yarn)
- Make a chain of 20: (or desired length for mane strands).
- Round 1: In the 3rd ch from the hook, sc across (18).
- Fasten off and leave a long tail for attaching the mane.
- Repeat this step to make several mane strands (about 10-12 strands).
- Attach the mane: Sew the mane strands around the top of the head.
4. Ears (Make 2, Yellow Yarn)
- Round 1: Magic ring, 6 sc into the ring (6).
- Round 2: 2 sc in each stitch (12).
- Round 3: Sc around (12).
Inner Ears (Make 2, Cream Yarn)
- Round 1: Magic ring, 6 sc into the ring (6).
- Round 2: 2 sc in each stitch (12).
Attach the cream inner ears to the yellow outer ears.
Sew the ears to the sides of the head.
5. Eyes (Make 2, Black Yarn)
- Round 1: Magic ring, 6 sc into the ring (6).
- Round 2: 2 sc in each stitch (12).
Fasten off, leaving a long tail for sewing.
Inner Eyes (Make 2, White Yarn):
- Round 1: Magic ring, 4 sc into the ring (4).
- Round 2: 2 sc in each stitch (8).
Attach the inner eyes to the black eyes.
6. Nose (Black Yarn)
- Round 1: Magic ring, 6 sc into the ring (6).
- Round 2: 2 sc in each stitch (12).
Fasten off, leaving a long tail for sewing.
7. Mouth (Embroidered with Black Yarn)
Using black yarn, embroider a simple frown or unhappy mouth under the nose.
8. Shirt (Red Yarn)
- Chain: Ch 25, turn.
- Row 1: Starting from the second chain from the hook, sc across (24).
- Rows 2-4: Ch 1, turn. Sc across (24).
- Row 5: Ch 1, turn. Sc across (24).
- Row 6: Ch 1, turn. Sc across (24).
To create armholes:
- Fold the shirt in half and sew the sides together, leaving space for the arms to fit through.
Assembly:
- Attach the Head to the Body: Use the long tail from the head to sew it securely onto the body.
- Sew on the Ears: Attach the ears to the top sides of the head.
- Attach the Eyes and Nose: Sew the eyes and nose onto the face, positioning them to give an unhappy expression.
- Attach the Mane: Make sure the mane looks fluffy and covers the top of the head.
- Position the Shirt: Place the red shirt on the lion and sew it in place, ensuring it fits well and allows for the arms to come through.
Customization:
- Change Colors: Use different colors for the lion’s body, mane, and shirt for a unique look.
- Add Accessories: Consider adding a little hat or a scarf for added charm.
- Adjust Facial Expression: You can modify the eyes and mouth to create different expressions.
Your lion amigurumi is now complete! This cute lion can serve as a fun decoration, a gift, or a cuddle buddy. Enjoy your crochet project!
