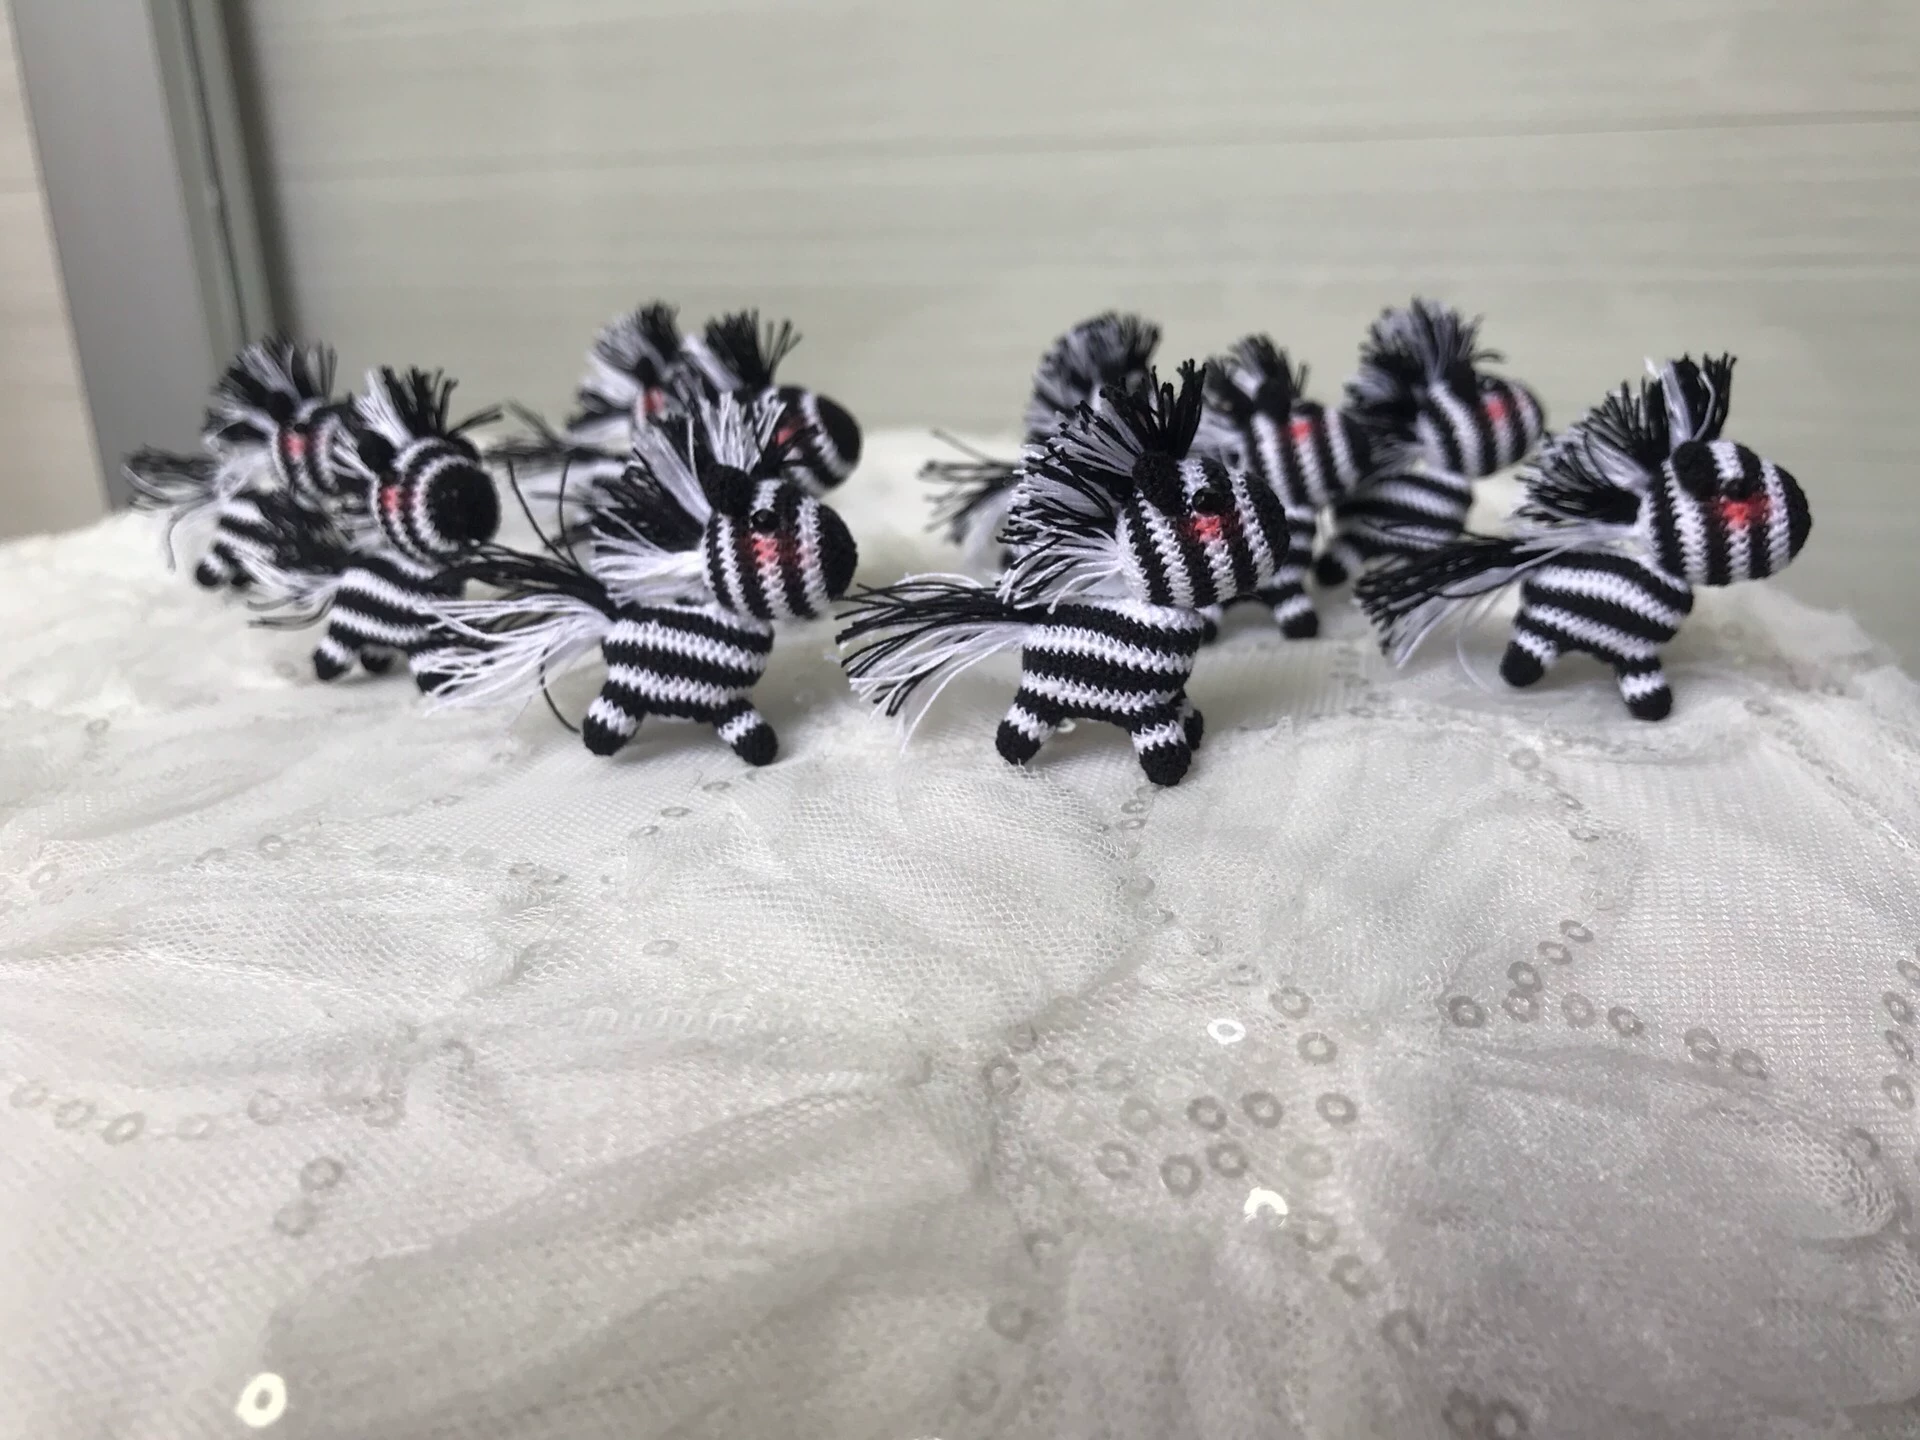
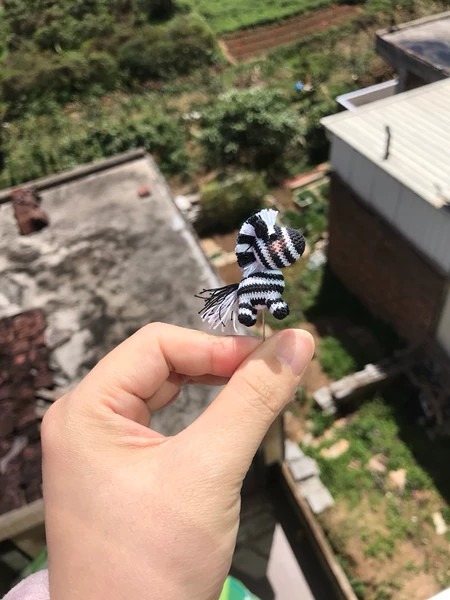
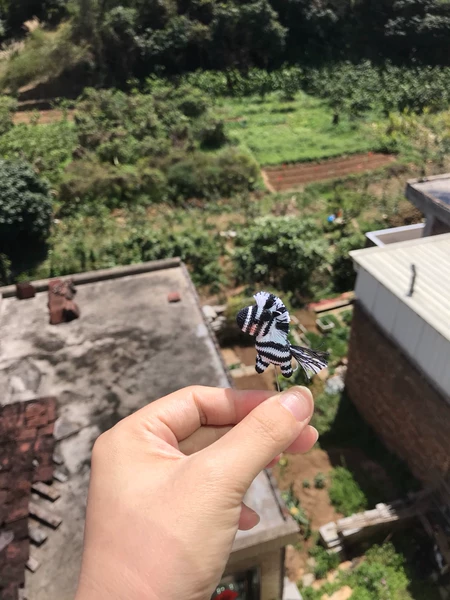
[Finished product] Mini Crochet Zebra, Super Cute Decor or Gift
$57.94
Description
how to Crochet a Mini Zebra – crochet tutorial, guides and patterns
Crocheting a mini zebra amigurumi is a fun and rewarding project! Here’s a step-by-step guide to help you create your own cute little zebra.
Materials Needed:
- Yarn:
- White (for the body)
- Black (for the stripes)
- Optional: Pink or another color for embellishments (like ears or accessories)
- Crochet hook: 3.5mm or appropriate size for your yarn
- Fiberfill: For stuffing
- Yarn needle: For sewing and weaving in ends
- Scissors: For cutting yarn
- Safety eyes (optional) or black yarn for embroidering eyes
Crochet Abbreviations:
- ch: Chain
- sc: Single crochet
- inc: Increase (2 sc in one stitch)
- dec: Decrease (sc two stitches together)
- sl st: Slip stitch
- MR: Magic ring
Step-by-Step Instructions
1. Body
- Round 1: Start with a magic ring, make 6 sc into the ring (6).
- Round 2: Inc in each stitch around (12).
- Round 3: 1 sc, inc around (18).
- Round 4: 2 sc, inc around (24).
- Round 5-10: Sc around (24) for 6 rounds to build the body length.
- Round 11: 2 sc, dec around (18).
- Round 12: 1 sc, dec around (12).
- Fasten off, leaving a long tail for sewing. Lightly stuff the body with fiberfill.
2. Head
- Round 1: Start with a magic ring, make 6 sc into the ring (6).
- Round 2: Inc in each stitch around (12).
- Round 3: 1 sc, inc around (18).
- Round 4: 2 sc, inc around (24).
- Round 5-8: Sc around (24) for 4 rounds.
- Round 9: 2 sc, dec around (18).
- Round 10: 1 sc, dec around (12).
- Fasten off, leaving a long tail for sewing. Lightly stuff the head.
3. Ears (Make 2)
- Round 1: Start with a magic ring, make 6 sc into the ring (6).
- Round 2: Inc in each stitch around (12).
- Round 3: 1 sc, dec around (8).
- Fasten off, leaving a long tail for sewing. Do not stuff the ears.
4. Legs (Make 4)
- Round 1: Start with a magic ring, make 6 sc into the ring (6).
- Round 2: Inc in each stitch around (12).
- Round 3: Sc around (12).
- Fasten off, leaving a long tail for sewing. Do not stuff the legs.
5. Tail
- Ch 15 (or desired length).
- Row 1: Sc in each ch across.
- Fasten off, leaving a long tail for sewing.
6. Stripes
- For the stripes, you can use black yarn to embroider stripes on the body, head, and legs as desired. You can also add black yarn when making the ears if you want to create a more distinctive pattern.
Assembly
- Attach the head: Sew the head onto the top of the zebra’s body.
- Attach the ears: Sew the ears on top of the head, positioning them slightly apart.
- Attach the legs: Sew the four legs onto the bottom of the body, evenly spaced.
- Attach the tail: Sew the tail onto the back of the zebra.
- Add eyes: You can either use safety eyes or embroider them with black yarn on the head. You may also add a smile with black yarn.
Final Touches
- Shape the zebra: You can gently reshape the body and legs to give them more character.
- Add additional details: If desired, you can add more embellishments or personalize your zebra further.
Your adorable mini zebra amigurumi is now complete! It’s a charming project that can be a great decoration or gift. Enjoy your crocheting!
Related products
-


[Finished product] Crochet Unhappy Lion Amigurumi, Around 17 cm, With Poseable Arms, Legs, and Tail
$23.26 Add to cart -


[Finished product] Crochet Amigurumi Turtle
$134.63 Add to cart -
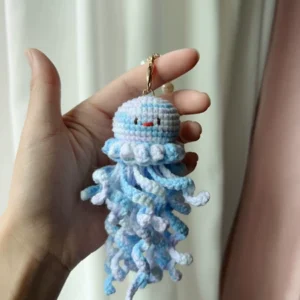

[Finished product] Crochet Jellyfish Keychain
$17.62 Add to cart -
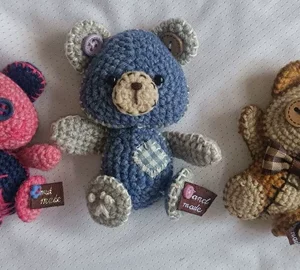

Happy Little Bear, Wool Yarn Crochet, Finished Product, Approximately 8 cm, Handmade
$20.44 Add to cart
